
Mastering the Art of Quality Painting Techniques
- Recoat Pros
- Jan 19
- 4 min read
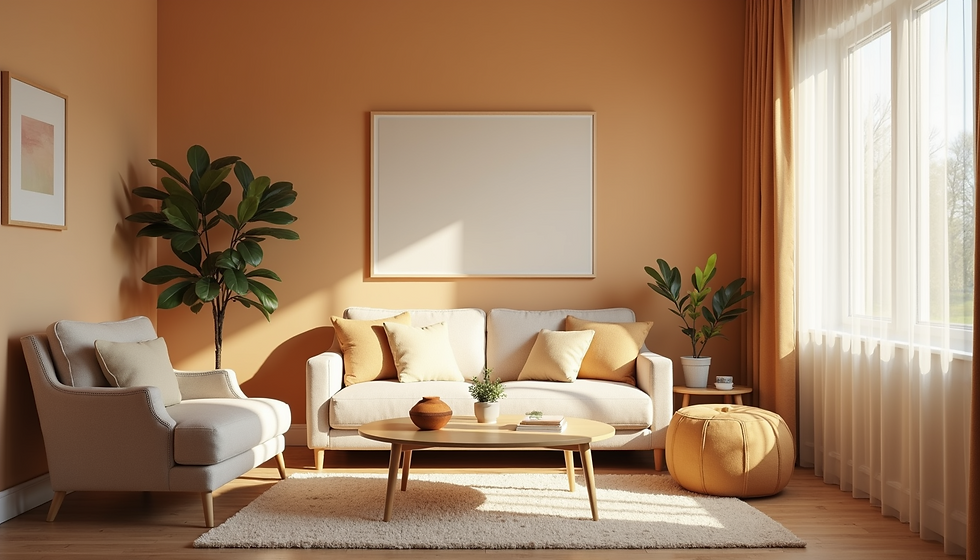
Painting is more than just applying color to walls. It’s an art form that transforms spaces, uplifts moods, and adds value to homes and businesses. Over the years, I’ve learned that mastering quality painting techniques is the key to achieving flawless, long-lasting results. Whether you’re refreshing a room or tackling a commercial project, the right approach makes all the difference.
Let me walk you through some essential tips and tricks that will help you paint like a pro. These techniques are practical, easy to follow, and designed to give you confidence every step of the way.
Understanding Quality Painting Techniques: The Foundation of a Great Finish
Before you pick up a brush or roller, it’s important to understand what quality painting techniques really mean. It’s not just about slapping on paint quickly. It’s about preparation, precision, and patience.
Preparation is everything. Start by cleaning surfaces thoroughly. Remove dust, dirt, and grease. Patch holes and sand rough spots until smooth. This creates a perfect canvas for your paint.
Next, choose the right primer. Priming seals the surface and improves paint adhesion. It also helps the color appear more vibrant and consistent.
When it comes to painting, use high-quality brushes and rollers. Cheap tools can leave streaks and uneven coverage. Invest in good materials to make your work easier and your finish better.
Finally, apply paint in thin, even coats. Thick layers can drip and take longer to dry. Two or three thin coats will give you a smooth, durable finish.

Essential Tools and Materials for Quality Painting Techniques
Having the right tools is half the battle won. Here’s a list of essentials that I always keep on hand:
High-quality brushes: Use angled brushes for edges and flat brushes for larger areas.
Rollers: Choose the nap length based on your surface texture. Smooth walls need short nap rollers; rough surfaces require longer nap.
Painter’s tape: Protect trim, windows, and ceilings with painter’s tape for clean lines.
Drop cloths: Keep floors and furniture safe from spills.
Putty knife and spackle: Fill holes and cracks before painting.
Sandpaper: Smooth out patched areas and rough spots.
Primer and paint: Select primer and paint suited for your surface and environment.
Using these tools correctly will save you time and frustration. For example, I always tape off edges carefully and remove the tape while the paint is still slightly wet. This prevents peeling and creates sharp lines.
Mastering Surface Preparation for a Flawless Paint Job
Surface preparation is often overlooked but it’s the secret to a professional finish. Here’s how I approach it:
Clean the surface: Use mild detergent and water to remove dirt and grease. Rinse and let dry completely.
Repair imperfections: Fill holes and cracks with spackle. Let it dry, then sand smooth.
Sand the surface: Lightly sand glossy or rough areas to help paint stick better.
Remove dust: Wipe down with a damp cloth or tack cloth to remove sanding dust.
Apply primer: Use a primer suitable for your surface type. For example, wood needs a different primer than drywall.
Taking these steps ensures your paint adheres well and lasts longer. Skipping preparation often leads to peeling, bubbling, or uneven color.

Painting Techniques That Bring Out the Best in Your Space
Now that your surface is ready, it’s time to paint. Here are some techniques I use to get a flawless finish:
Cutting in: Start by painting edges and corners with a brush. This is called cutting in. It creates a border for rolling.
Rolling: Use a roller to cover large areas. Roll in a “W” or “M” pattern to distribute paint evenly. Then fill in the gaps with vertical strokes.
Feathering: Lightly blend edges where two paint sections meet to avoid harsh lines.
Multiple coats: Apply two or three thin coats rather than one thick coat. Let each coat dry fully before applying the next.
Maintain a wet edge: Work quickly enough to keep a wet edge. This prevents lap marks and streaks.
These techniques take practice but are worth mastering. They help you achieve a smooth, professional look that lasts.
Tips for Painting in Colorado’s Front Range Climate
Painting in Colorado’s Front Range comes with unique challenges. The dry air, temperature swings, and high altitude affect how paint dries and adheres.
Here are some tips I’ve found helpful:
Check the weather: Avoid painting on very hot, cold, or windy days. Ideal temperatures are between 50°F and 85°F.
Use paint designed for your climate: Look for paints with UV protection and moisture resistance.
Adjust drying times: Paint may dry faster in dry air, so work quickly to maintain a wet edge.
Prep for dust: The dry climate can cause dust to settle on wet paint. Use drop cloths and clean surfaces thoroughly.
By adapting your approach to local conditions, you’ll get better results and a longer-lasting finish.
Bringing It All Together: Your Path to Painting Success
Mastering quality painting techniques is a journey. It takes time, patience, and practice. But with the right tools, preparation, and methods, you can transform any space beautifully.
Remember, every project is an opportunity to improve your skills. Don’t rush. Take pride in your work. And if you ever feel stuck, there are professionals ready to help.
If you want to learn more about expert painting services or need a hand with your next project, check out Recoat Pros. They are committed to delivering top-notch painting services in Denver and the Front Range while making a positive impact in the community through their unique charitable initiative.
Painting is more than a job - it’s a way to brighten lives and spaces. I hope these tips inspire you to pick up that brush with confidence and create something amazing.
Happy painting!


Comments